Choosing your theme
This page walks you through picking your organisation's theme and adjusting the optional display settings.
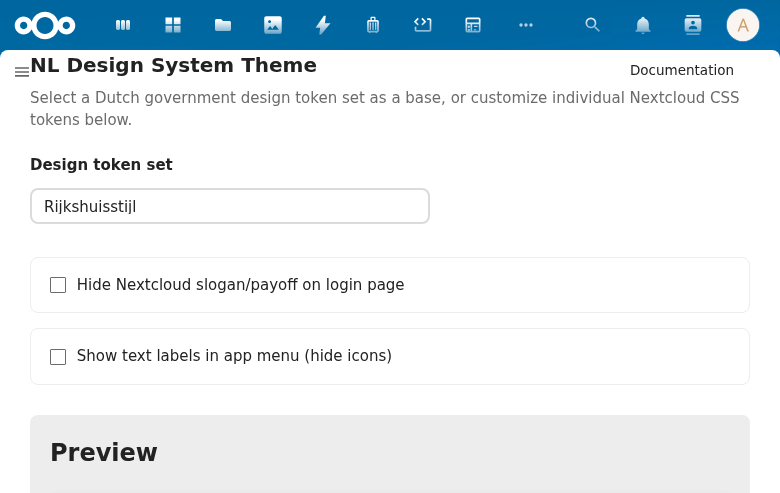
Where to find the settings
After installing NL Design, navigate to:
- Click your avatar (top-right corner)
- Choose Administration settings
- Click Appearance in the left sidebar
- Scroll down until you see the NL Design System Theme section
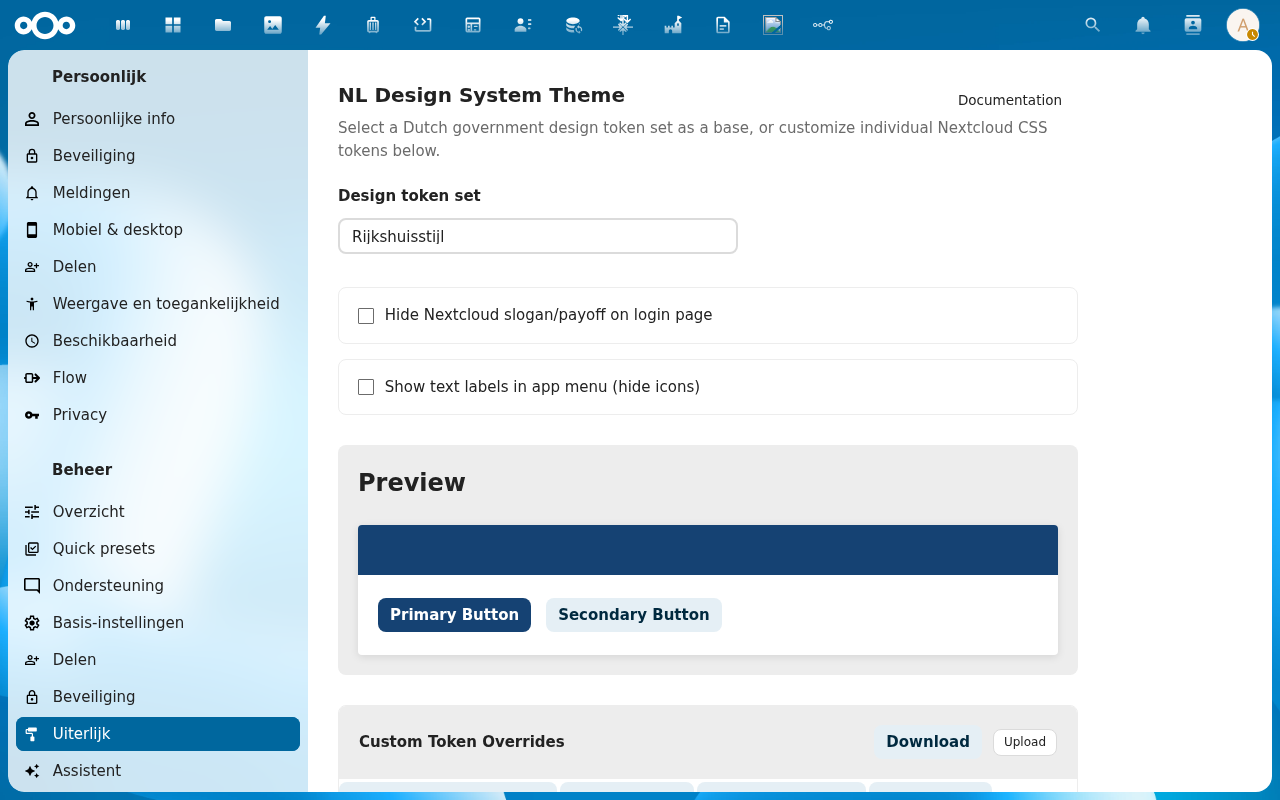
Step 1 — Pick your organisation
Click the Design token set dropdown. A list of 39 organisations appears — scroll through and click yours.
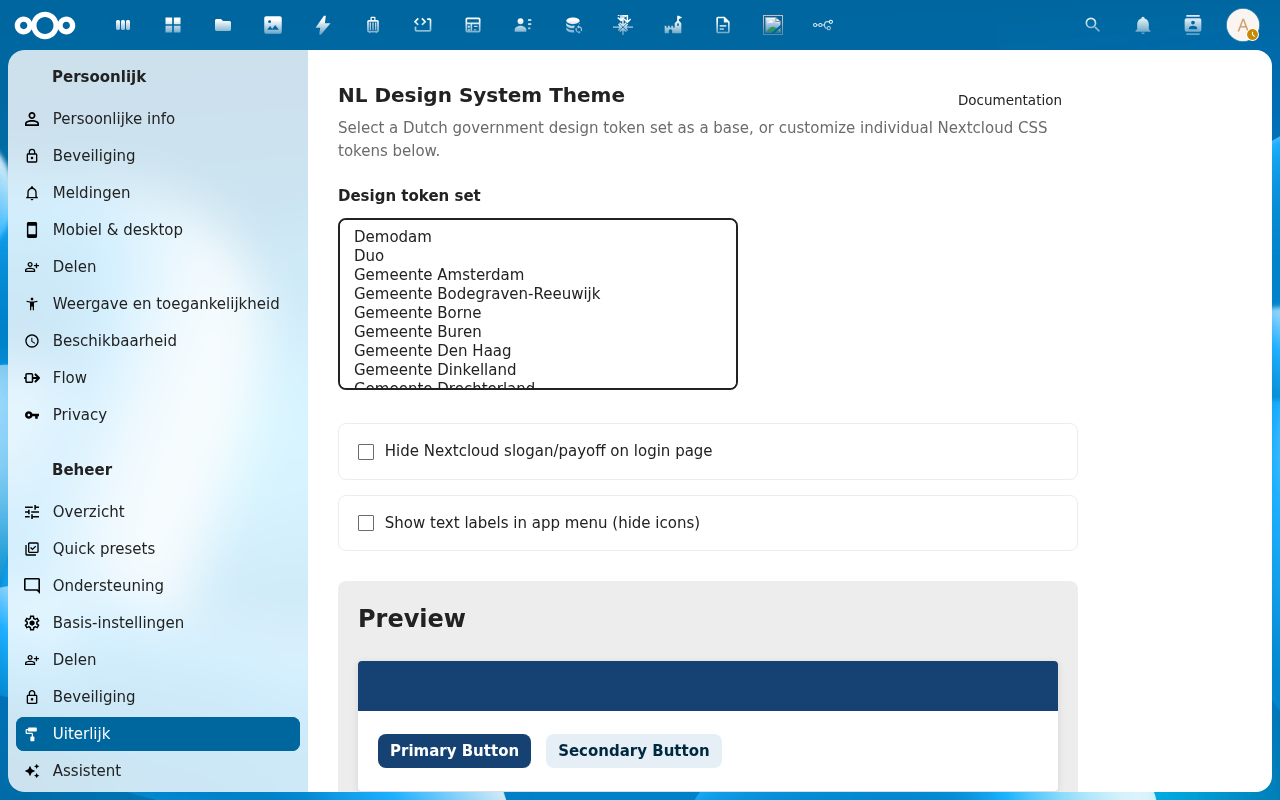
As soon as you select an organisation, the Preview section below updates to show the new colours. The Apply token set dialog may appear asking which colours to apply — see Apply Token Set Dialog for details, or simply click Apply selected to accept all changes.
Not sure which one to choose? Try a few — the preview updates instantly and nothing is saved until you confirm.
Step 2 — Check the preview
The Preview section shows sample buttons in your organisation's colours. This is a live preview of what Nextcloud will look like after you save.

Step 3 — Optional display settings
Two checkboxes let you adjust how Nextcloud looks:
Hide Nextcloud slogan/payoff on login page Removes the "a safe home for all your data" tagline from the login screen. Useful if you want a cleaner, more professional login page for your organisation.
Show text labels in app menu (hide icons) Adds text labels next to the app icons in the left sidebar. This makes navigation easier for users who aren't familiar with the icons, and improves accessibility.
That's it!
Your Nextcloud now has your organisation's house style. The change takes effect immediately for all users — no restart needed.
Fine-tuning (optional)
If the theme isn't quite right — for example your organisation uses a slightly different shade of blue — you can adjust individual colours using the Custom Token Overrides section directly below the preview.
See Token Editor for a step-by-step guide on adjusting specific colours.
You can also export your settings as a CSS file and import them on another instance. See Import & Export.